- Nick Water DR
- Published
- Updated March 22, 2026
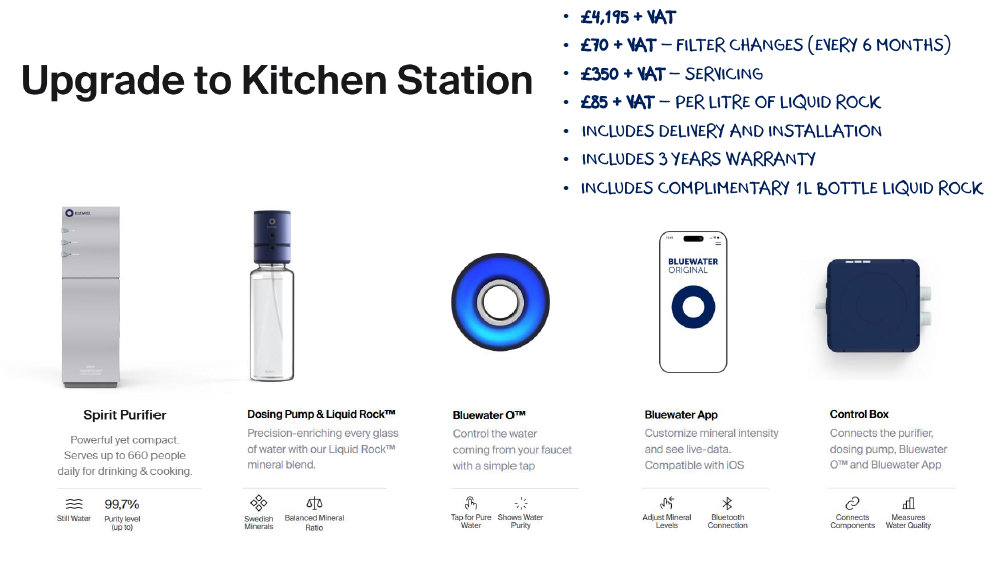
- Kitchen Station
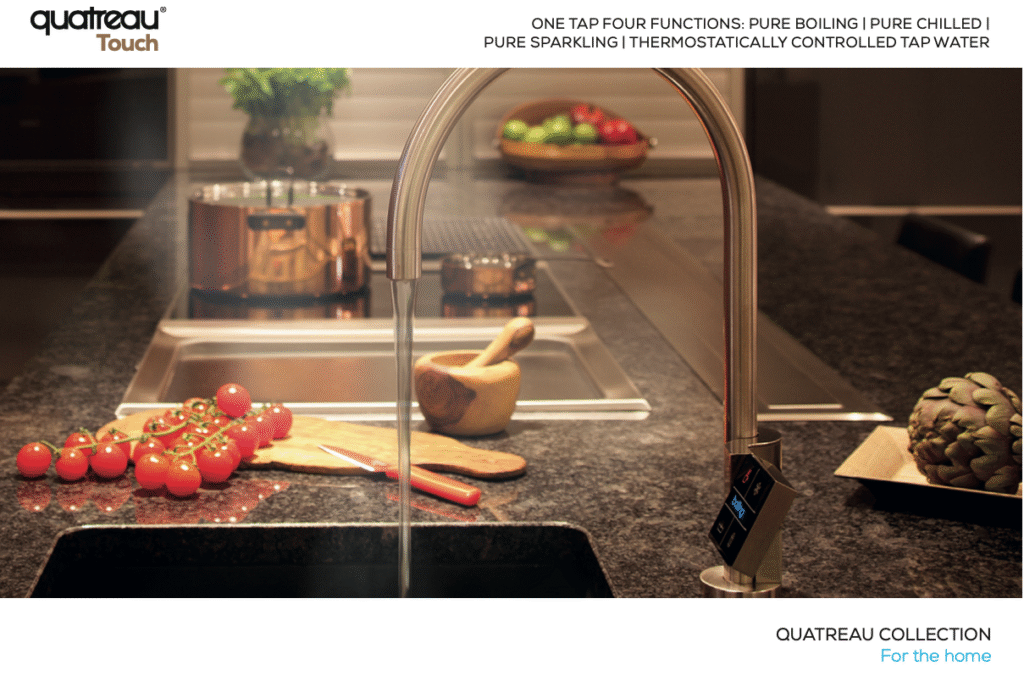
How to Install and Maintain Your Quatreau Touch for Peak Performance
How to install and maintain your Quatreau Touch learn setup, care tips, and maintenance steps to ensure peak performance and long-term use.
Installing a Quatreau Touch system is more than a simple kitchen upgrade. It is an investment in your daily water experience, your household efficiency, and your long-term cost savings. However, like any advanced water system, its performance depends heavily on how well it is installed and how consistently it is maintained.
Many homeowners focus on the product itself but overlook the importance of setup and upkeep. Even a high-end system can underperform if installation is rushed or maintenance is inconsistent. On the other hand, a properly installed and well-maintained Quatreau Touch system can deliver years of reliable performance with minimal effort.
This guide takes a practical, step-by-step approach to help you install and maintain your Quatreau Touch system correctly. It covers everything from pre-installation planning to long-term maintenance strategies, ensuring your system operates at peak efficiency.
Understanding how Quatreau Touch fits into your kitchen system
Before installation begins, it is important to understand how Quatreau Touch fits within your overall water setup.
Quatreau Touch is a point-of-use kitchen system, meaning it treats water only at the tap where it is installed. It is designed to improve drinking water quality and convenience rather than address whole-house water issues.
What Quatreau Touch is designed to do?
- Deliver high-quality drinking water
- Provide instant hot and cold water
- Offer optional sparkling water functionality
- Replace kettles and reduce bottled water use
- Improve taste and consistency for cooking and beverages
What it is not designed to do?
- Remove limescale across the entire home
- Protect plumbing systems or appliances
- Replace whole-house filtration or softening
If your home suffers from scale buildup or inconsistent water across multiple taps, you may need to combine Quatreau Touch with a broader system.
By understanding its role clearly, you can position the system correctly and avoid unrealistic expectations.
Pre-installation checklist
Proper preparation is the foundation of a successful installation. Skipping this step often leads to poor performance, difficult maintenance, or unnecessary costs later.
1. Check available under-sink space
Although Quatreau Touch is compact, it still requires sufficient room for:
- Filtration components
- Heating and cooling modules
- Tubing connections
- Air circulation
A cramped installation can cause:
- Overheating
- Restricted airflow
- Difficult filter replacement
- Increased risk of leaks
Take accurate measurements and ensure there is enough clearance around the unit.
2. Confirm water pressure and flow rate
Stable water pressure is essential for consistent performance.
Low pressure can:
- Reduce flow speed
- Affect filtration efficiency
- Delay hot water output
If your home has weak pressure, you may need a booster pump. This is especially important in older UK properties.
3. Identify electrical requirements
Quatreau Touch systems require power for heating and cooling.
Ensure:
- A nearby socket is available
- It remains accessible after installation
- Cables are safely routed away from water
Electrical planning is often overlooked but critical for long-term usability.
4. Plan tap positioning carefully
The tap is the primary user interface.
Poor placement can:
- Make daily use inconvenient
- Cause splashing
- Interfere with sink usage
Choose a location that is:
- Easy to reach
- Visually integrated into the kitchen
- Practical for filling containers
5. Assess drainage needs
Some models require a drain connection.
Ensure:
- Proper access to waste pipe
- No existing blockages
- Correct alignment for installation
Ignoring drainage can lead to inefficient operation or leaks.
What are the step-by-step installation process?
Understanding the installation process helps you ensure everything is done correctly, even if you hire a professional.
Step 1: Shut off water supply
Always start by turning off the cold water supply. This prevents leaks and allows safe installation.
Step 2: Install feed water connection
A feed valve connects the system to the mains supply.
Key considerations:
- Ensure tight fittings
- Avoid cross-threading
- Check for leaks before proceeding
Step 3: Position and secure the unit
Place the unit under the sink in a stable position.
Important:
- Keep it level
- Allow airflow around it
- Avoid placing it directly against cabinet walls
This improves performance and prevents overheating.
Step 4: Install the dedicated tap
Drill a hole if required and install the tap.
Ensure:
- Proper sealing
- Stable mounting
- Correct alignment
Step 5: Connect tubing carefully
Tubing connects all parts of the system.
Avoid:
- Sharp bends
- Loose fittings
- Twisted lines
Proper tubing ensures consistent flow and prevents pressure issues.
Step 6: Connect to power supply
Plug the system into a suitable outlet.
Ensure:
- Dry connections
- Safe cable routing
- No interference with plumbing
Step 7: Flush and prepare the system
Flushing is essential before first use.
- Run water through the system
- Discard initial output
- Allow filters to stabilise
This step improves taste and prepares the system for normal operation.
What are rhe common installation mistakes to avoid?
Poor space planning
Lack of space makes maintenance difficult and can reduce system lifespan.
Incorrect tubing layout
Kinks or bends restrict water flow and cause pressure imbalance.
Skipping system flushing
This leads to poor taste and incomplete filter activation.
Ignoring ventilation needs
Heat-generating components require airflow to function properly.
Daily usage best practices
Daily habits directly affect system performance.
To maintain optimal operation:
- Use the system regularly to prevent stagnation
- Avoid leaving water unused for long periods
- Clean the tap outlet periodically
- Use temperature settings appropriately
Regular usage keeps water fresh and prevents buildup inside the system.
Maintenance schedule for peak performance
Filter replacement
Filters are the most critical part of maintenance.
Typical replacement intervals:
- Sediment filters: every 6 to 12 months
- Carbon filters: every 6 to 12 months
- Advanced filters: based on usage
System cleaning and hygiene
Regular cleaning helps maintain performance.
- Wipe external surfaces
- Clean tap outlet
- Remove visible buildup
Descaling in hard water areas
Hard water can affect heating elements.
Descaling:
- Maintains efficiency
- Prevents damage
- Extends lifespan
Monitoring system performance
Watch for:
- Changes in flow rate
- Taste variations
- Unusual noise
These are early indicators of maintenance needs.
What are the top long-term maintenance strategies?
Maintain a consistent schedule
Preventative maintenance is always better than reactive repairs.
Keep replacement filters ready
Having spare filters avoids delays and ensures timely replacement.
Use manufacturer-approved components
Incorrect filters can damage the system or reduce performance.
Schedule periodic professional checks
Occasional servicing ensures everything is working correctly.
Troubleshooting common issues
Slow water flow
Possible causes:
- Clogged filters
- Low pressure
- Tubing issues
Unusual taste
Usually caused by:
- Expired filters
- Lack of maintenance
Heating or cooling problems
Check:
- Power supply
- Internal system status
Leaks
Inspect:
- Fittings
- Connections
- Tubing
Enhancing performance with a complete water system
For maximum efficiency, consider combining Quatreau Touch with:
- Whole-house filtration
- Water softeners
- Pre-treatment systems
Example: ‘Filter Pro’ Home Water Filtration system
This improves:
- Overall water quality
- Appliance protection
- System lifespan
Environmental and cost benefits of proper maintenance
Proper maintenance:
- Reduces water waste
- Extends system lifespan
- Minimises repair costs
- Eliminates bottled water dependency
For more insights: Why Whole-House Water Filtration Matters?
Final conclusion
Installing and maintaining your Quatreau Touch system correctly is what ultimately determines whether it performs as a premium kitchen upgrade or just another appliance under your sink. While the technology itself is designed for convenience and efficiency, it only delivers consistent results when supported by proper setup, regular maintenance, and a clear understanding of how it fits into your overall water system.
A well-installed Quatreau Touch system provides immediate everyday benefits. You get cleaner, better-tasting water on demand, faster access to hot and cold water, and a noticeable reduction in reliance on kettles and bottled water. Over time, these small daily improvements translate into better hydration habits, improved kitchen workflow, and lower ongoing costs.
However, long-term performance depends on consistency. Filters must be replaced on schedule, components should be checked periodically, and the system should be used regularly to maintain water freshness and flow efficiency. Neglecting these basics can reduce performance, affect taste, and increase wear on internal components.
It is also important to see Quatreau Touch as part of a broader water strategy rather than a standalone solution for every water issue. In many UK homes, the best results come from combining point-of-use systems with whole-house solutions such as filtration or softening. This layered approach ensures that you are not only improving drinking water but also protecting your plumbing, appliances, and overall water quality.
Expanded FAQs:
How long does installation take?
Typically 1 to 3 hours, depending on kitchen layout and plumbing complexity.
Can I install it myself?
Yes, but professional installation ensures optimal setup and performance.
How often should filters be replaced?
Usually every 6 to 12 months, depending on usage and water quality.
Does Quatreau Touch require servicing?
Basic maintenance is sufficient, but occasional professional checks are recommended.
Is it suitable for hard water areas?
Yes, but descaling or a softener may be needed.

About the Author
Nick Smith | Founder | The Water Dr. & Cellthyhomes
Nick has dedicated years to studying building biology, healthy living environments, and the impact of environmental toxins on inflammation.
Whilst regulations for UK drinking water are slow to adapt, & influenced by conflicts of interest, Nick conduct comprehensive research on global regulations & scientific literature to offer water filtration solutions that provide clean drinking water free from all harmful contaminants.